FREE Standard UK DELIVERY on all orders over £60
Cart 0

Create you own custom coloured embossing paste!

altenew embossing paste Catherine Pooler Catherine Pooler Designs catherine pooler die Catherine Pooler Inks catherine pooler stamps catherine pooler stencils cranberry fizz it's a girl Ladies Who Lunch party dress reinkers Verity Biddlecombe

Hello there, it is Verity here from Pretty Little Button for the Bumbleberry Design team. If you love to use embossing paste with your stencils, then you'll also love to create your own custom coloured paste to use. It is so simple to create custom coloured embossing paste and even if you don't have a lot of colours you can still create with this technique. I used some re-inkers to colour my paste - just as it was the easiest way, but you can easily use your ink pads, watercolours, sprays etc. 

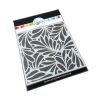
I've combined the paste with the beautiful In The Jungle stencil from Catherine Pooler Designs. The design just takes centre stage and all it needs is a simple sentiment to finish it off!

Written and photos Create you own custom coloured embossing paste!: 

Start off by temporarily adhering the In The Jungle stencil over a white piece of cardstock. I find the Make Art Stay-ion is perfect for keeping the stencil still and in place whilst you work as the magnetics stop it from moving. 
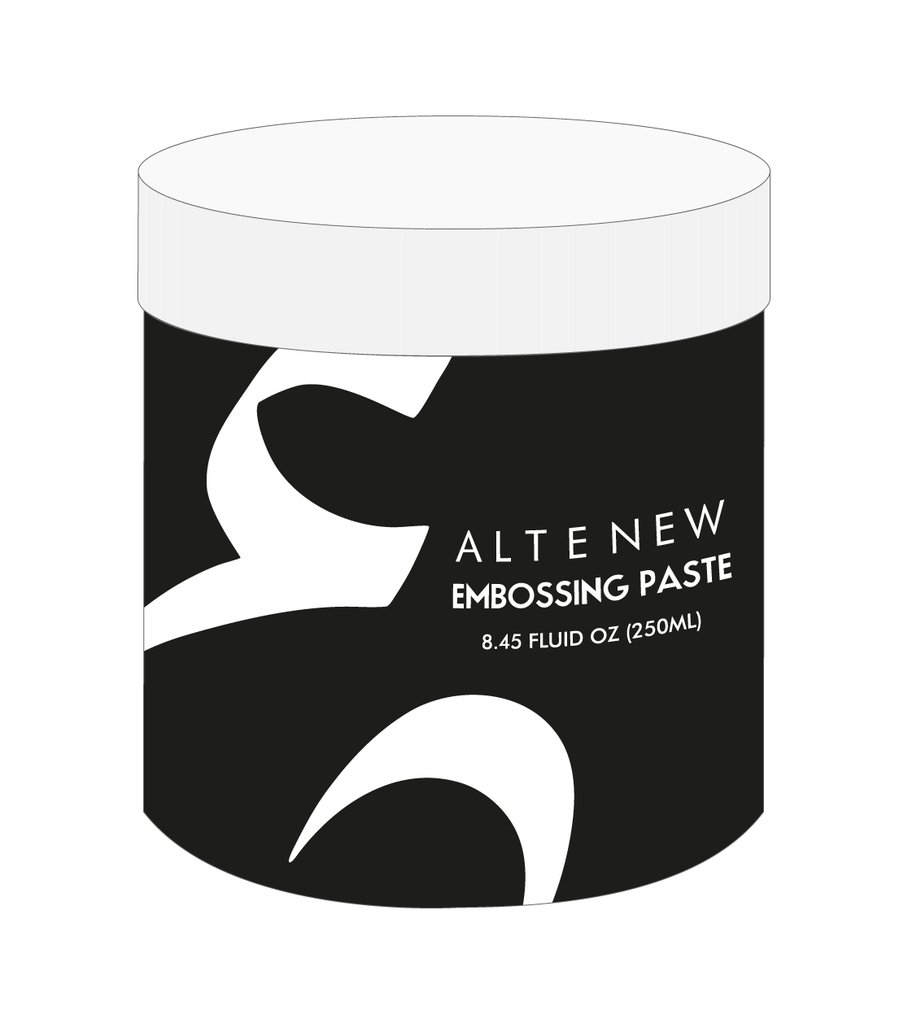
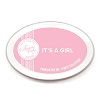
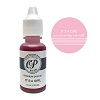
Next, with a spatula, add a small amount of Altenew embossing paste onto a non-porous surface. To add colour, add one drop of It's A Girl Re-inker from Catherine Pooler or smoosh the ink pad down next to the paste. Use your spatula to mix the colour into the ink.
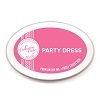
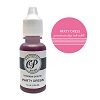
Next, apply the coloured paste through the stencil at one end. Next, mix a drop of Party Dress re-inker into the paste -  you may need to add a little more paste. Again apply this over the stencil and blend into the previous colour. 
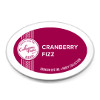
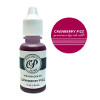
Repeat colouring the paste one more time with Cranberry Fizz Reinker and add to the last top half of the stencilled design. Remove the stencil and ensure you clean this well. 
Before you allow this to dry, cover with Halo Embossing glitter. Only heat the powder after the paste is dry to prevent the paste from bubbling. Adhere the panel to a white card base.  Add a layered die-cut Thanks to the front that has been coloured with Cranberry Fizz ink using the direct to paper method. Finish with a sentiment from the Ladies Who Lunch stamp set and a few sequins from the Flamenco Beach sequin mix. 
If you enjoyed today's card, please let us know and we would love to see your cards if this has inspired you.
 

Shopping list for Create you own custom coloured embossing paste:

Links to supplies at Bumbleberry Papercrafts Shop: 


Gina K Designs - Connect Glue
Shop at:
BP
Neenah Classic Crest Solar White 110lb Cardstock
Shop at:
BP
Neenah Classic Crest Solar White 80lb Cardstock
Shop at:
BP
Scrapbook Adhesives 3D foam squares 1/4
Scrapbook Adhesives 3D foam squares 1/4" white
Shop at:
BP
Original MISTI  2 - My Sweet Petunia
Original MISTI 2 - My Sweet Petunia
Shop at:
BP
Embossing Paste - Altenew
Shop at:
BP
Ladies Who Lunch stamp set - Catherine Pooler Designs
Shop at:
BP
Party Dress - Catherine Pooler Designs
Shop at:
BP
Party Dress Reinker - Catherine Pooler Designs
Shop at:
BP
Cranberry Fizz Ink Pad  - Catherine Pooler Designs
Cranberry Fizz Ink Pad - Catherine Pooler Designs
Shop at:
BP
Cranberry Fizz Reinker - Catherine Pooler Designs
Shop at:
BP
It's A Girl - Catherine Pooler Designs
Shop at:
BP
It's A Girl - Catherine Pooler Designs
Shop at:
BP
In The Jungle Stencil - Catherine Pooler Designs
Shop at:
BP

If you enjoyed this post and create a card like this, make sure you share it in the Bumbleberry Craft Room on Facebook for us to check it out!


Until next time!

Verity


Pretty Little Button Blog | Instagram | Facebook | Youtube


Older Post Newer Post


Leave a comment