FREE Standard UK DELIVERY on all orders over £60
Cart 0

Embossing and Debossing with 3D Embossing Folder From Altenew For A Letter Pressed Look.

Altenew Altenew Blending Brush Altenew dies Altenew Embossing Folders Daisy D Designs Daisy d's designs dry embossing embossing Ink Blending Brush Jo Summers jo-annescreations Oxides

 Hello and Welcome Crafty Friends,

to this Wednesday Blog Post, for Bumbleberrys. 

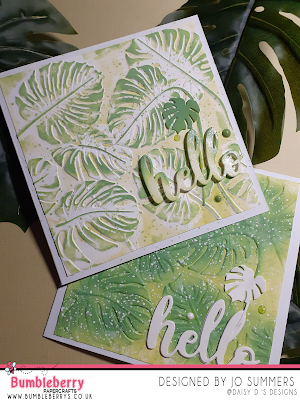
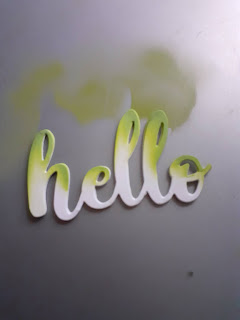
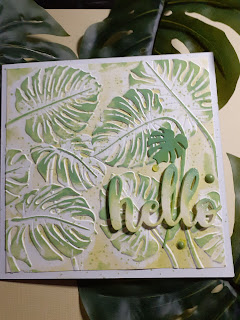
Today I've been playing with the 3D embossing folders from Altenew. Finding different results depending weather you use the negative or positive side also known as Emboss or Deboss sides. These cheaper product are so versatile, there  a great resource in your stash.

Products

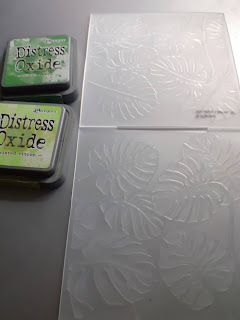
Monstera Leaves Embossing Folder (Altenew)

https://www.bumbleberrys.co.uk/collections/altenew/products/monstera-leaves-3d-embossing-folder

Blending Brushes (Altenew)

https://www.bumbleberrys.co.uk/collections/altenew/products/ink-blending-tool-large 

Brayer (Ranger)

https://www.bumbleberrys.co.uk/products/tim-holtz-distress-brayer-medium?

_pos=1&_sid=cbc21ba1c&_ss=r

Monstera 3D Die Set (Altenew)

https://www.bumbleberrys.co.uk/products/monstera-3d-die-set?_pos=15&_sid=9f968face&_ss=r&variant=31851762745426 

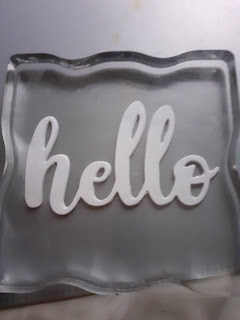
Simply Hello Die (Altenew)

https://www.bumbleberrys.co.uk/products/simply-hello-die?_pos=5&_sid=814121065&_ss=r 

Distress Oxide Ink Pad in Twisted Citron & Mowed Lawn (Ranger)

White Gouache Paint (for splats)

Varies Pre made Nuvo Drops

Method


Firstly ink up the folder with your darkest colour. I used a brayer to apply the ink to the debossed leaf side.

 Then close the folder and run this through you die cutting machine with the correct sandwich / platform for your machine to take 3D embossing folders.


Next using the brayer with the darker ink colour I gently went over the leaves that were raised.
Die cut my sentiment 3 x and glued them together to create a chipboard style word. Layering makes it thick and solid.

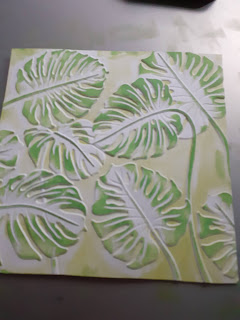
I then place an acrylic block to hold it together until all layers were dry.

Then once it was dry I ink blended  in the two ink colours lightest first.

Added some slats by squishing down my inkpad an adding water with a fan brush. 

Once I had added mounting foam to the back of the word die I added it to my card. 

Die cut the Monstera leaf die, coloured with a blending tool and added to the sentiment.  

My other card shows this technique opposite way round where you ink the leaves first. 


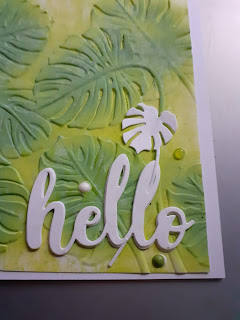
Also on the second card I kept the die cut plain and splat with white gouache.


Thank you for joining me, until next time happy paper crafting!!!

Jo

xxx


Older Post Newer Post


Leave a comment